- Your cart is empty
- Continue Shopping

Hardness Pro
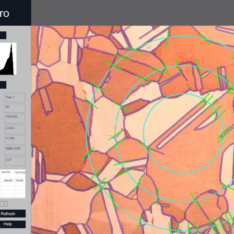
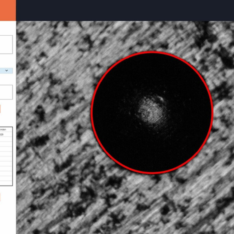
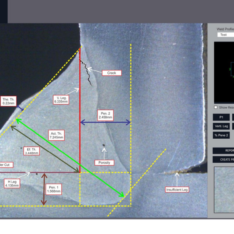
The method, also referred to as a Microhardness Test Method, is mostly used in the small parts, thin sections, or case depth work. The Vickers Software follows ASTME-384. The Vicker Microhardness methods are used to test on metals, ceramics, composites, etc. When the mean diagonal of the indentation has been determined the Vickers hardness may be calculated from the formula by Software. Case Hardness Depth (CHD) measurement is automatic. A common application of hardness testing is the evaluation of the hardness depth of Surface-hardened steels. This is done by performing a series of hardness impressions from the edge of the cross-sectioned sample toward the center. The hardness progression is plotted on a graph, and the distance from the Surface to the so-called hardness limit (HL) is calculated.
Introduction of Vicker Pro
The method, also referred to as a Microhardness Test Method, is mostly used in the small parts, thin sections, or case depth work. The Vickers Software follows ASTME-384. The Vicker Microhardness methods are used to test on metals, ceramics, composites, etc. When the mean diagonal of the indentation has been determined the Vickers hardness may be calculated from the formula by Software. Case Hardness Depth (CHD) measurement is automatic. A common application of hardness testing is the evaluation of the hardness depth of Surface-hardened steels. This is done by performing a series of hardness impressions from the edge of the cross-sectioned sample toward the center. The hardness progression is plotted on a graph, and the distance from the Surface to the so-called hardness limit (HL) is calculated.
Features
-
The high-definition testing provides accurate, repeatable, and reproducible test results in the macro and micro ranges.
-
The Software meets all requirements to ASTM E384, ISO 6507 and ISO 4545.
-
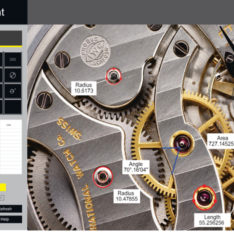
Automatic Vicker measurement available. Improvement in image-processing performance has improved the indentation measurement function.
-
Vicker Pro is designed for operation under windows 8 and windows 10 and can be interface with office spreadsheet application.
-
Navigation within “Vicker Pro” Software is made easy by its clean design and is supported by simple intuitive gestures.
-
Designed for touch panel use with an entirely new look and feel.
-
Automatic or Interactive manual measurement mode on live image or acquired image.
-
Image is acquired in high resolution in Multi document environment with 64 bit colours.
-
In the event, that the automatic measurement fails, will offered the possibility to manually measure through the acquision of D1 and D2.
-
The Software meets all requirements to ASTM E-384, ISO 6507 and ISO4545.
-
Improvement in Image processing performance has improved the indentation measurement function.


