- Your cart is empty
- Continue Shopping
Metalite
Metallurgical Grain Size measurement Software – MetaLite
“Metalite” is a modular quantitative image analysis software specific to steel industries. Simply select the appropriate analysis module and follow the intuitive guidance of built-in wizard. Incorporates industry standards including EN ISO 643, ASTM E-112, ASTM E – 930-92, ASTM 13 82-91. For analysis, sample is ground, polished and it necessary, etched using a suitable medium.
Introduction of Metalite
“Copper Pro” is a modular quantitative image analysis software specific to steel industries. Simply select the appropriate analysis module and follow the intuitive guidance of built-in wizard. Incorporates industry standards including EN ISO 643, ASTM E-112, ASTM E – 930-92, ASTM 13 82-91. For analysis, sample is ground, polished and it necessary, etched using a suitable medium.
Grain Size
-
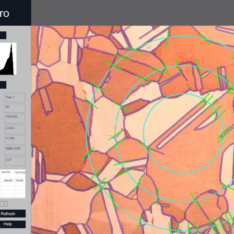
ASTM E-112, E-930, E1181, ISO 643-03, JIS G 0551-05 BS 490 DIN 643-03, IS-4748-88, SIS 111101 GOST 5639-82. Determine feritic and austerritic grain size in steel. The available methods are: 1. Automatic lineal heyn intercept method.2. Jeffries planimetric method. 3. Automatic and Semiautomatic Snyder and graff open scale intercept method. 4. Comparison method. 5. ALA grain size. 6. Selected grain size. 7. Manual count etc.
Decarburization
-
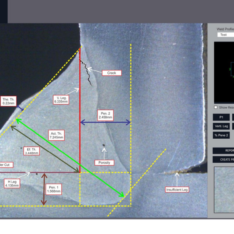
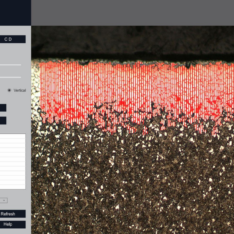
ASTM E1077, ISO 3887, JIS-0557-98 BS-6617,IS-7754 DIN 50192.Decarburization module intended to measure decarburized depth of steel due to heating at elevated temperatures during hot working or by detecting changes in the microstructure, hardness or carbon content at the surface. The decarburized depth is taken as the depth where a uniform microstructure, hardness or carbon content at the base material is observed. The microscope image analysis system is accurate for-as hot rolled, as forged, as annealed and as normalized sample. The software performs interactive measurement of complete, partial or total decarburization conforming to industry standards.
Porosity ASTM 247
-
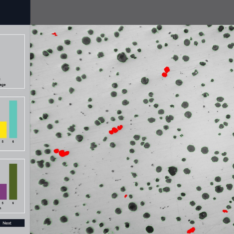
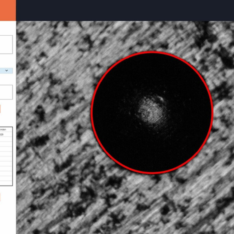
Pores in casting are estimated and reported on the basis of intensity. The percentage is calculated.
Measurement
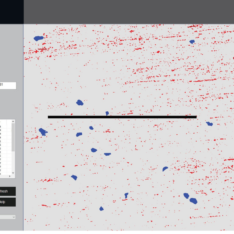
- With the Measurement module one can obtain measurement on manually drawn lines on traces, shapes or by outlining an object which cannot be accumulated and logged on to the results worksheet from where they can be stored to a file, printed or transferred to spread sheet for further analysis or statistics.
Calibration
-
Calibration should be performed on all the objectives of the microscope, where Digital Camera is installed. Calibration should be performed only when all hardwares are finally fixed. In case of readjustments or replacement of any part, calibration should be done again.
Phase Segmentation
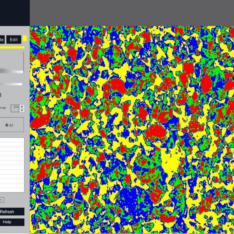
- Segmentation module in a sample measures the volume percentage of phases in a fully automatic way and is associated to a knew constitute of the specimen. Since a phase is detected and its area is estimated on the basis of its intensity/grayscale, an option for delineating phases from the histogram is also provided multiple phases are identified by colored overlays and can be simultaneously displayed for the same field of view. The area percentage data for each phase are displayed in class table. You can process and measures the unlimited number of images and all statistical data (area) will be accumulated in the class table.
